Posts tagged how to
D.I.Y MARBLE PHONE CASE

It is no secret of mine that I am OBSESSED with anything marble! There's just something about its beautiful veined texture that I can't seem to get enough of.  After making my own 

marble notebook

 and "pimping" out my laptop, I decided my next victim would be my iPhone.

I've tried looking online for a marble case that would fit my needs, but to be honest with you they were either too expensive or the design didn't really tick all the right boxes for me. Seeing as I have images of marble backgrounds that I really love, I thought to myself why not use them and create my own marble iPhone case!

So here is a quick and simple step-by-step D.I.Y to "pimp" your phone for only £3!

Materials that are needed: 

Clear phone case

Printed marble texture of your choice

Ruler

Scissors or craft knife (both would work just as fine)

Pen

Your phone

Step 1: 

Take your paper and flip it so that the blank side is facing you and the textured side is facing the table. By drawing on the blank side you don't have to worry about messing up and ruining your marble design. You are then going to trace around your phone. Grab your clear phone case and line it up with your tracing. Here you are going to trace around the camera hole.

Step 2:

Grab your scissors and cut around the paper. To make sure the paper fits nicely in your case, place the paper in the case to check its size. Trim down and alter until you are happy with the fit.

And there you have it! You're very own marble phone case made with just 2 easy and simple steps

I have had this phone case on for a couple of months and I have been asked where I got it. When I would tell people that it is actually paper they couldn't believe it. Who said you need to spend £15+ for a case when you can make your own design! And the great thing about it is, it's easy to change it up whenever you want!

What other D.I.Y posts would you like to see? 

Stay gold

Amni xo

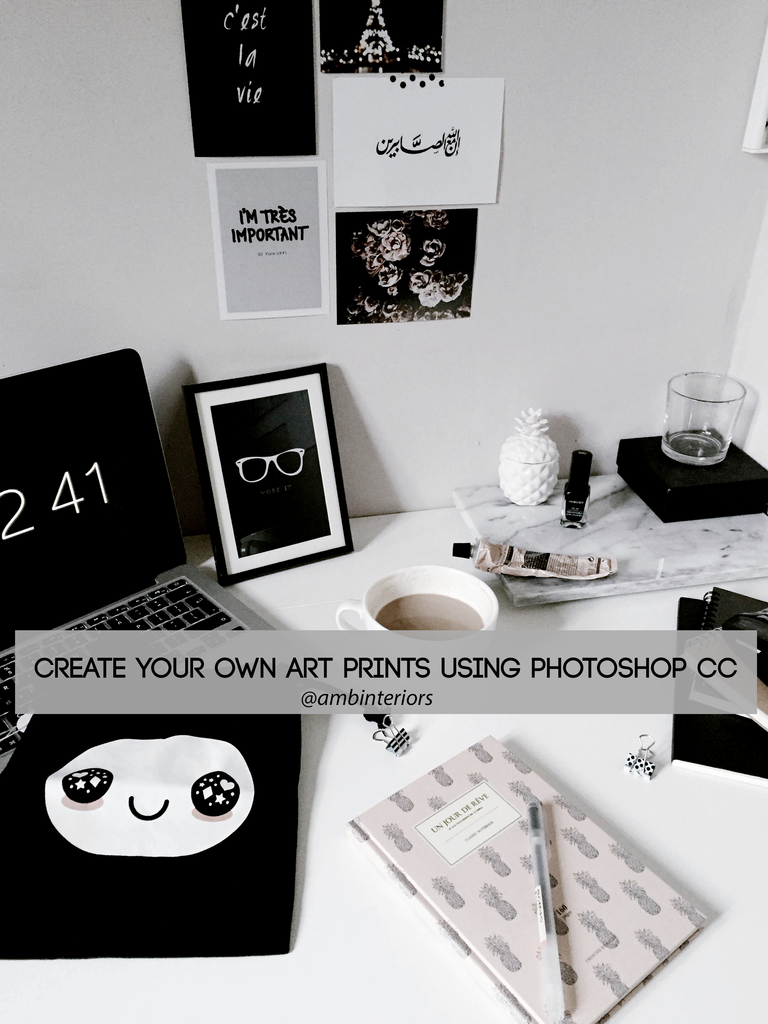
D I Y - CREATE YOUR OWN ART PRINTS USING PHOTOSHOP CC
 photo IMG_5824_zpsgh7cffgs.png

If you've been following me on Instagram, I recently posted up a picture of my new workspace. I created my own art prints to 'pimp' my desk area because honestly who doesn't like something pretty to look at whilst slaving away at work? ahaha. So I thought I'd share with you all how to make your own prints in Photoshop CC.

This is a super easy tutorial and is great for beginners + its fun!

No but seriously, I got you on this one.

HOW IT'S DONE:

1. Download a font of your choice which you wish to use for your print. (I'm using this one)

2. Open up Photoshop CC and set your paper size. (File > New > Photo > and then whatever photo size/orientation you want. (I'm using portrait 2x3)

3. Choose a background colour.

Think about what background you would want your text to lay on. My theme for this print is black and white. I love the look of a crisp contrast as a print but thats just my personal preference. Whatever colour you choose to use is entirely up to you. Have fun and explore different looks with this tutorial.

4. Write out your text.

Again the font that you use is entirely up to you and it all depends on the style of print your trying to achieve. For this specific print Im using - Painted

Play around with your font size and placement until you are happy with the final result.

And there you have it. Your own art print ready for your wall!

Didn't I tell you I got you? ahaha

Did you enjoy this tutorial? If so, share it around with your friends and family who might find this useful. They're a great way to add some decor to any room or perhaps you could use them as a small gift during the holidays or for special occasions.

If you want to see more quick and easy DIY's like these leave a comment below of any suggestions you may have. I love hearing from my followers.

Stay gold

xo