Posts in DIY
D.I.Y NOTEPAD & FREE PRINTABLES
 
notepad_presentation_by_ambinteriors.jpg
 
 
close-up-ambinteriors


Around here we are pretty serious about paper. It's no secret of mine that I am a stationery hoarder.  I'm always on the look out for new notebooks, notepads, thank you cards. the whole lot. One thing I'm trying to stick to this year is keeping myself more organised. Im starting  a new series on the blog called "the graduate life" and having so many thoughts on my mind and juggling work alongside my freelance life, its always handy to have a notepad close by to jot down all my ideas quickly before I forget them. 

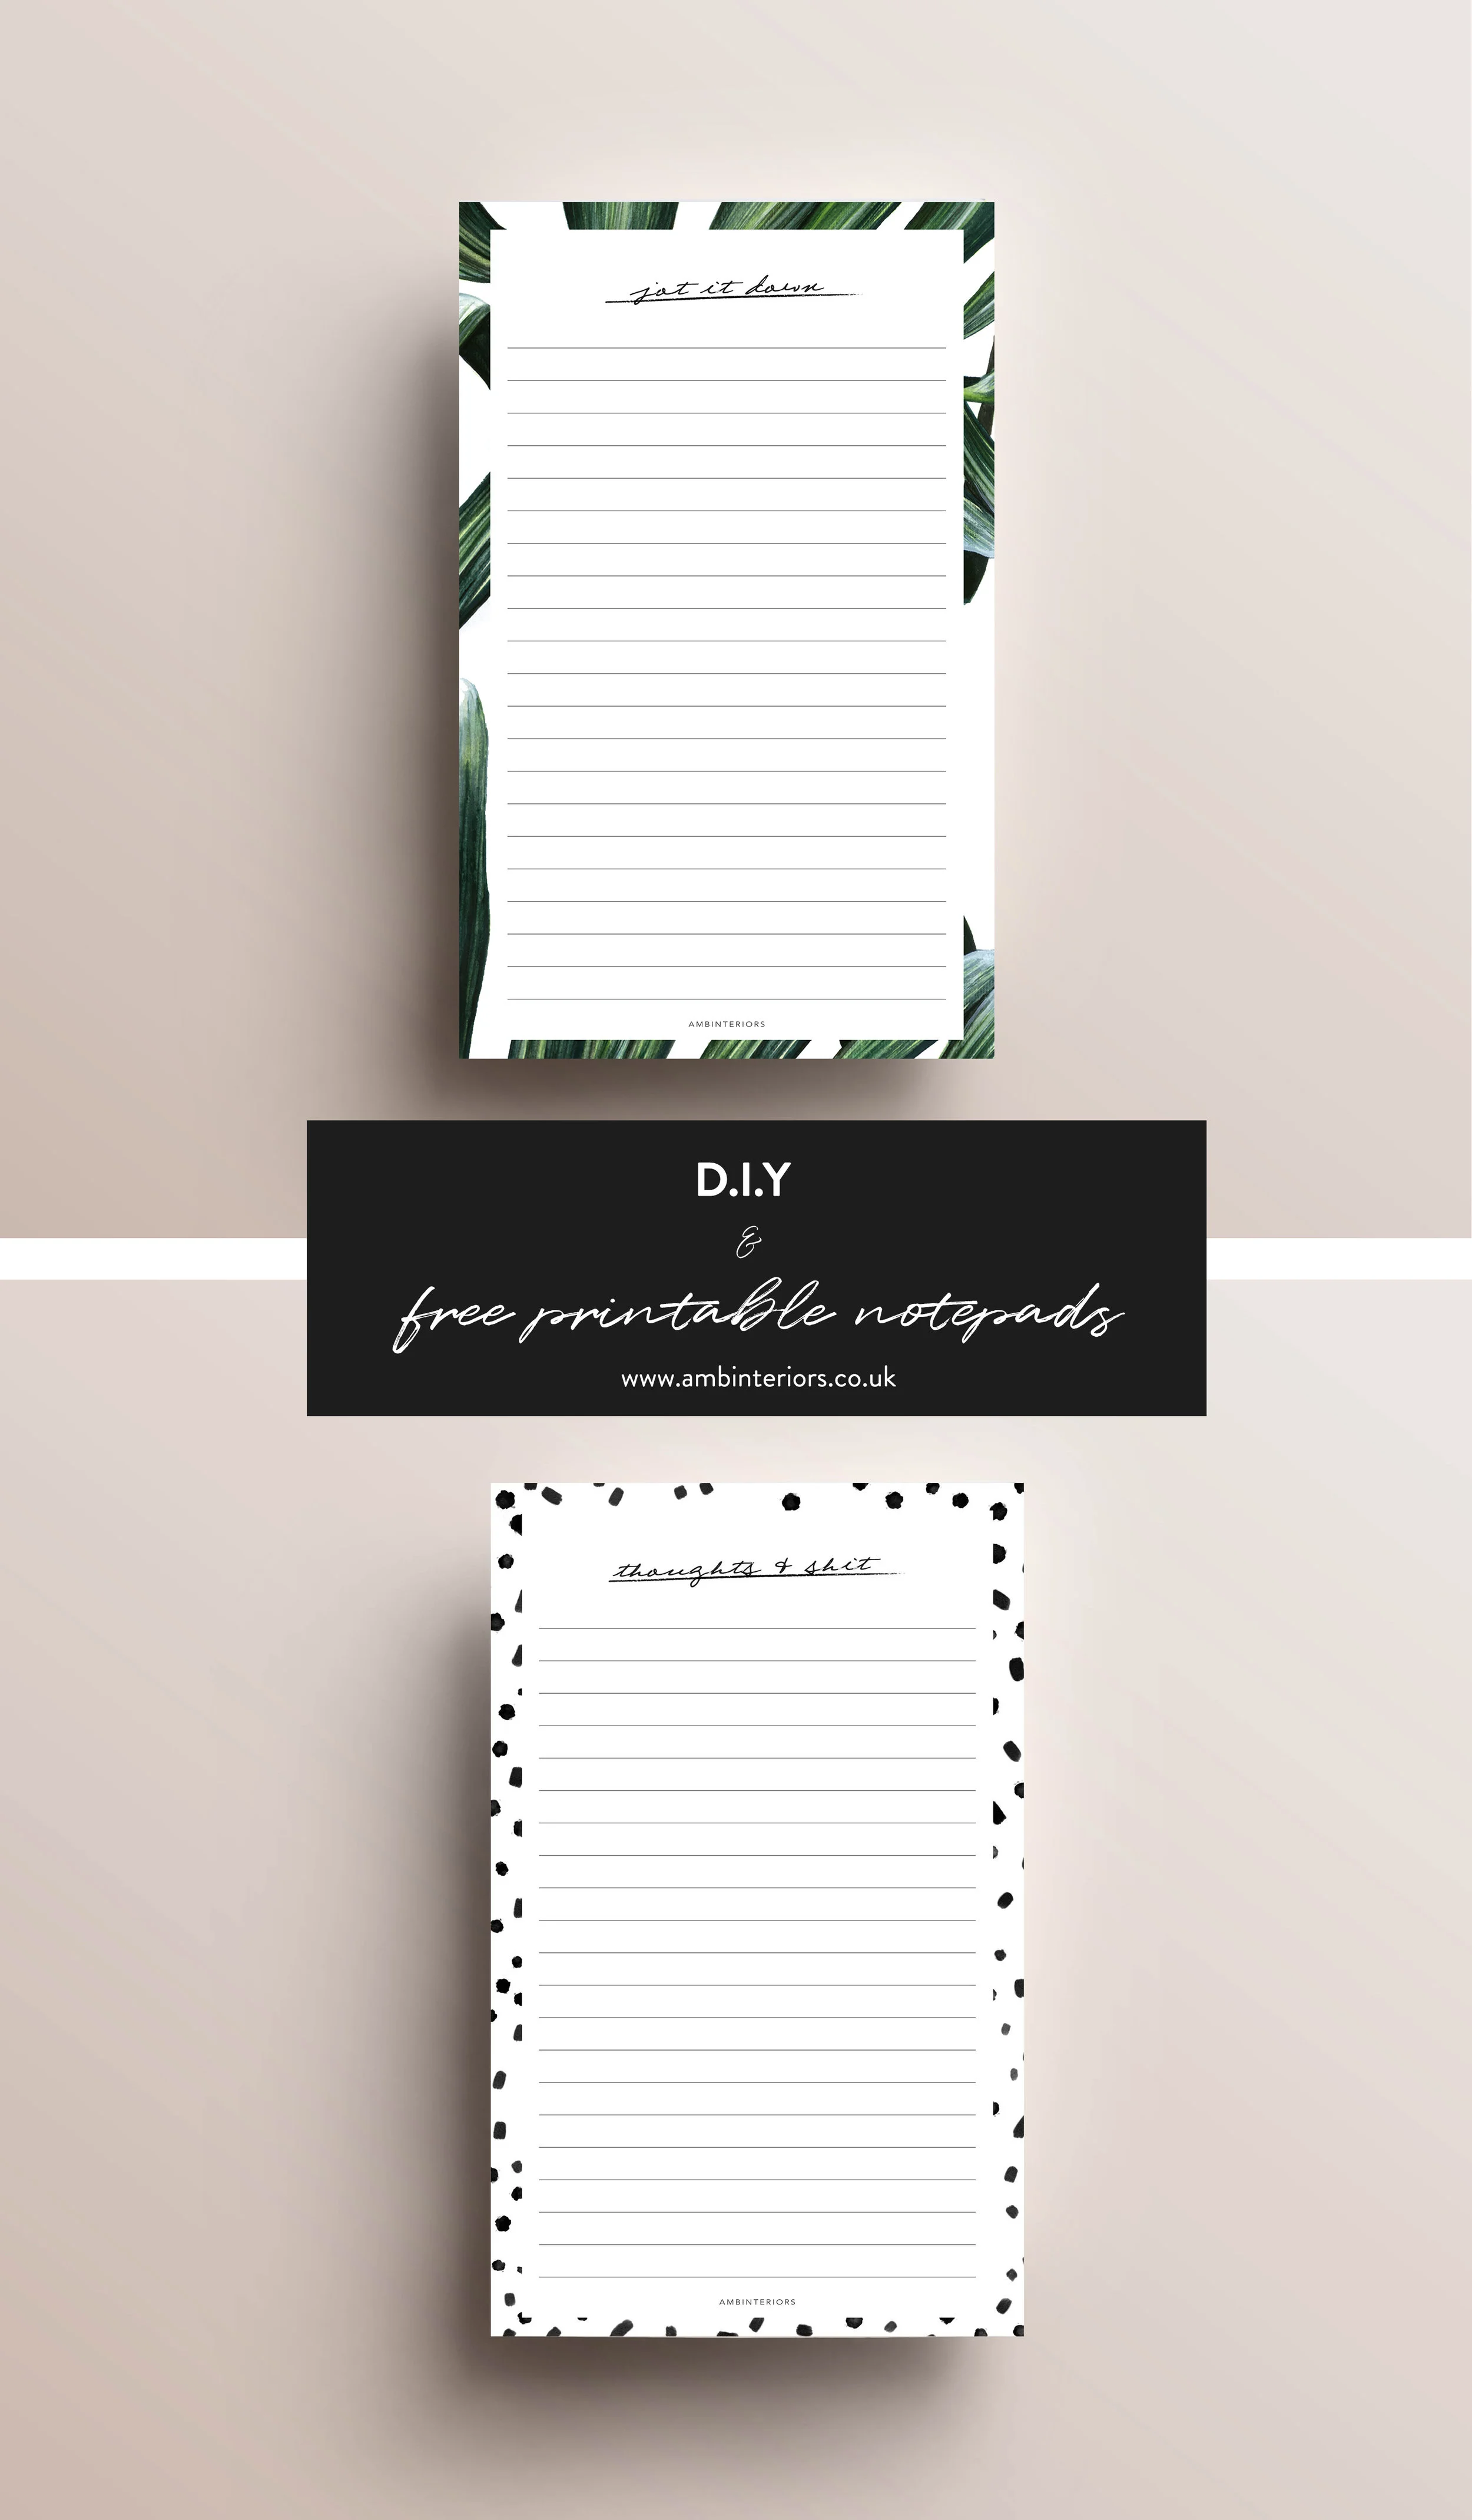
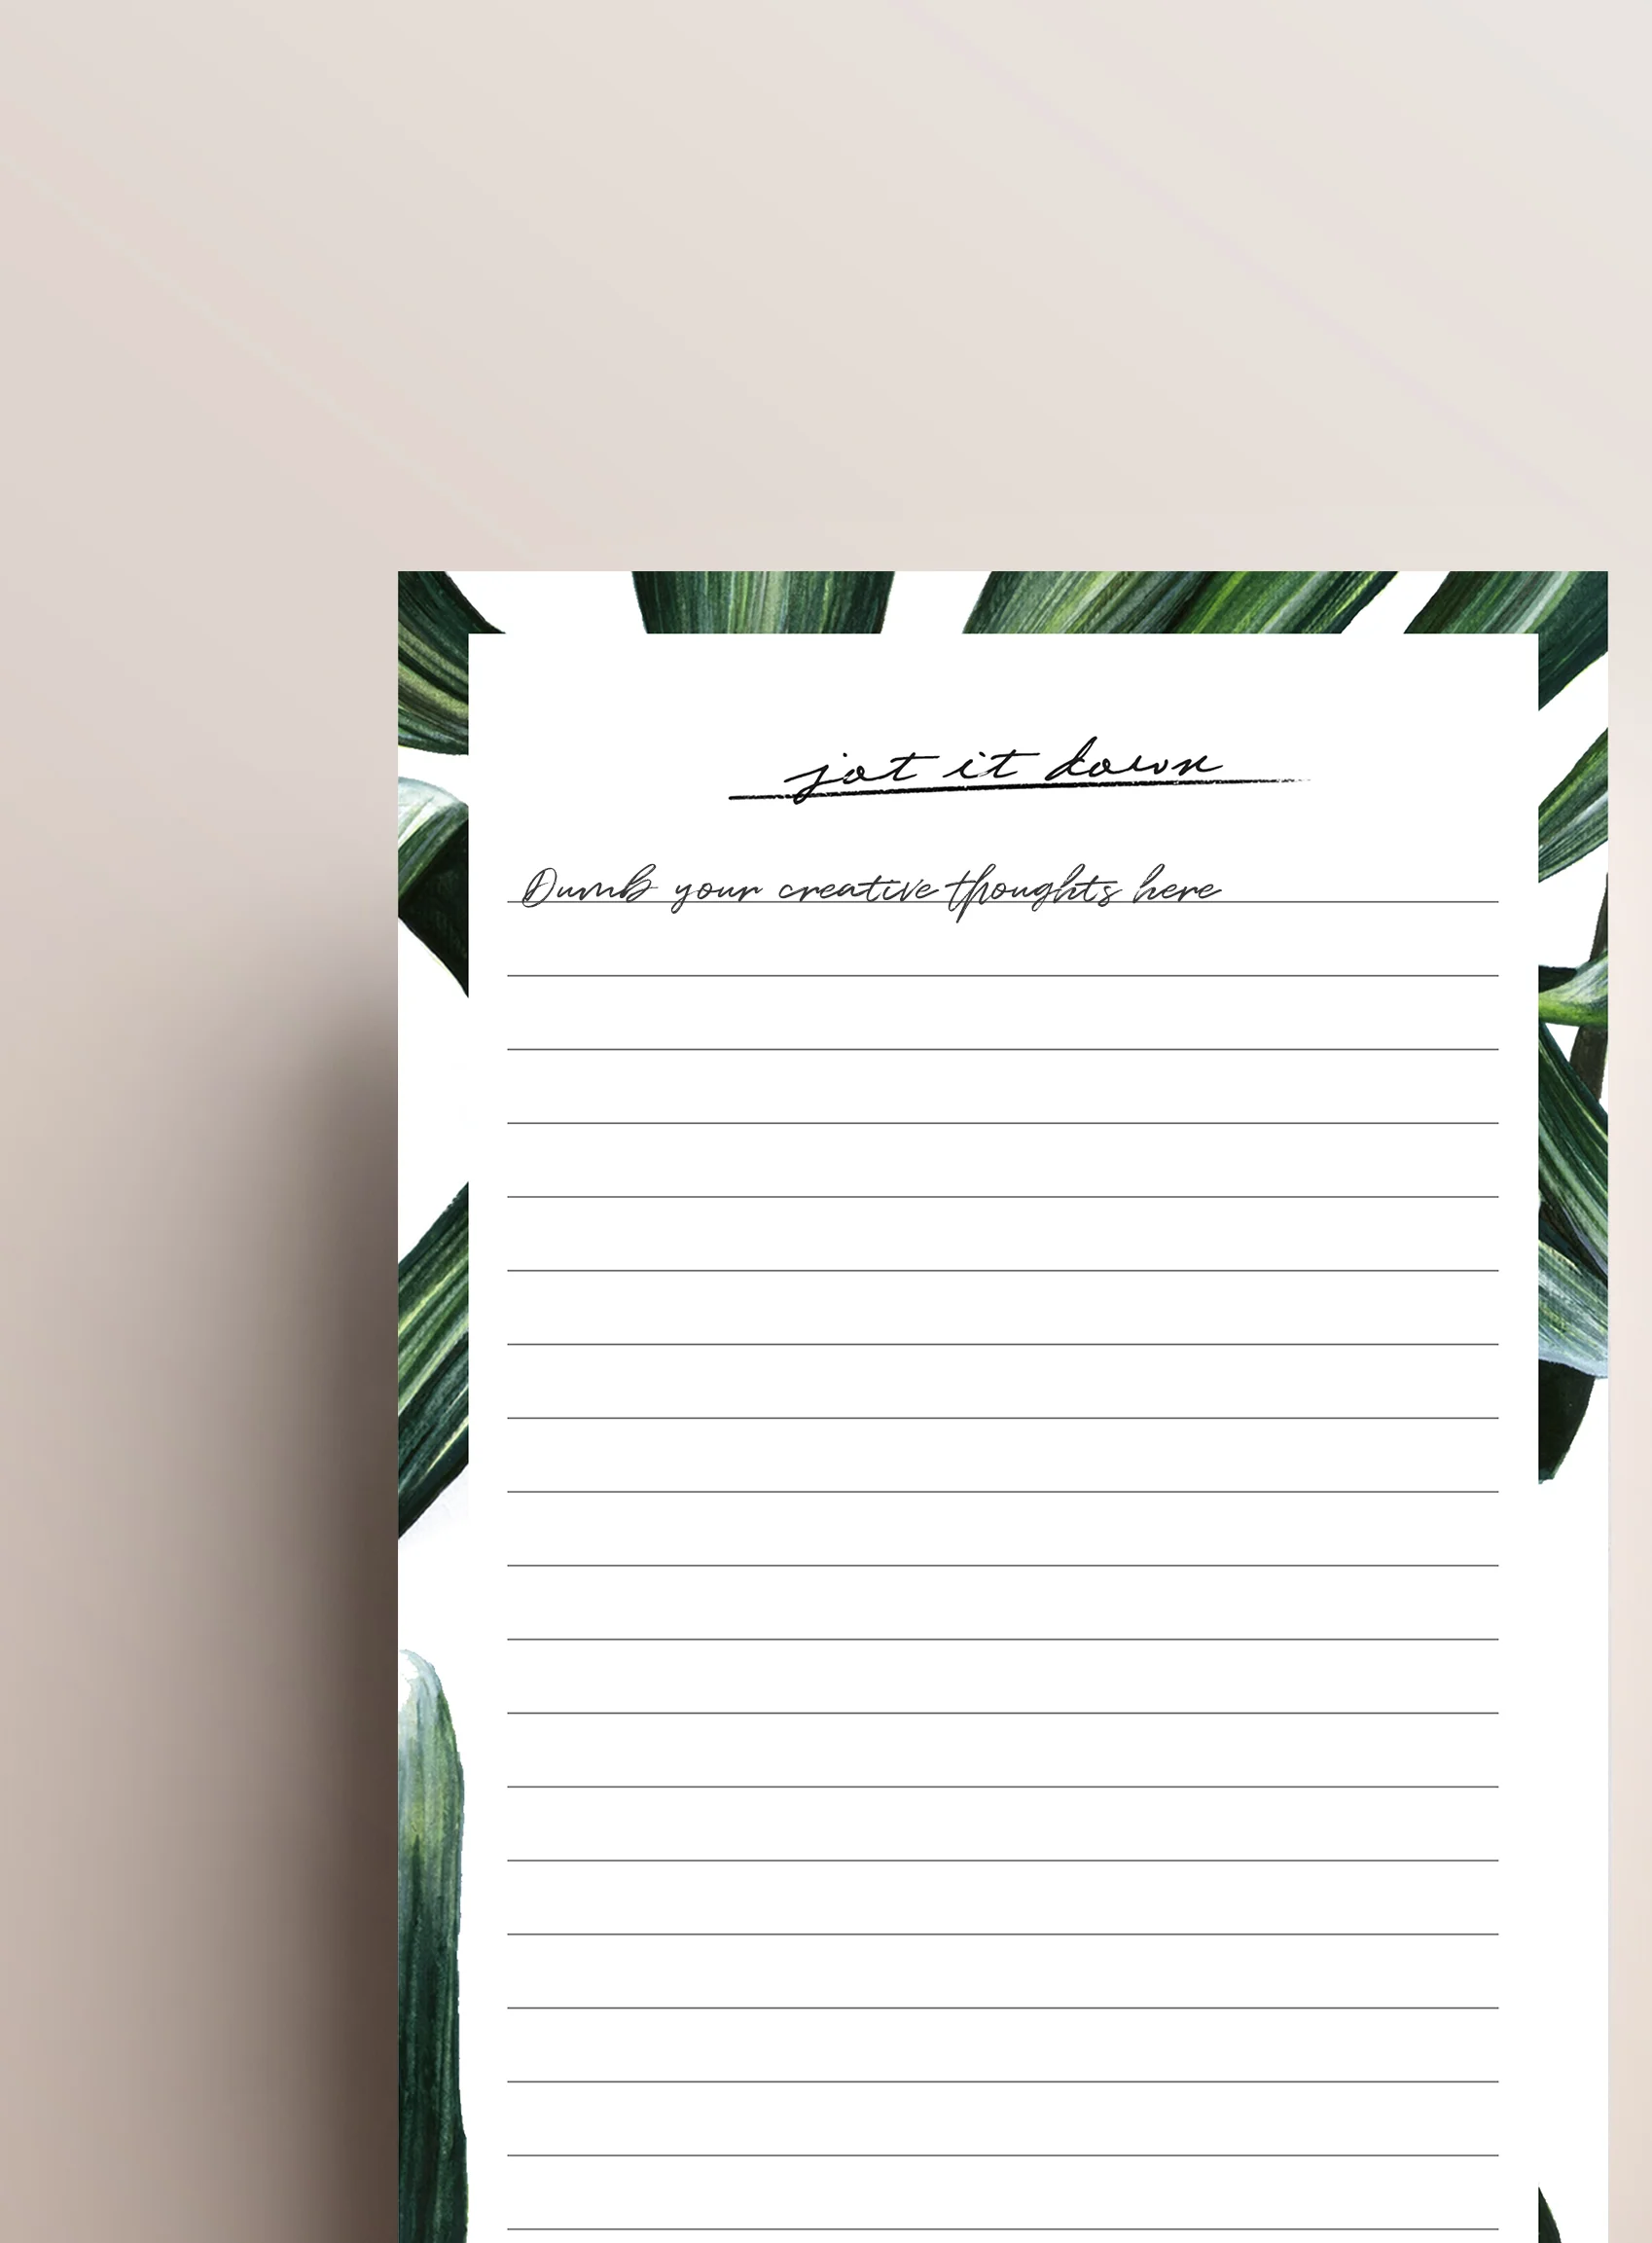
Although there are a million and one notepad designs out there, I wanted something special that had a little touch of me. Summer is on the way and I'm currently having a weird obsession with botanical leaves. There's just something about them that are so aesthetically pleasing.

The great news is all you need is a sheet of thick card, printed notepad, PVA glue, bulldog clips & scissors. 


STEP 1.

Simply start off by printing out my notepad designs and cut along the dotted lines. Use a bulldog clip to help keep all paper together. Cut off excess by using either scissors or a craft knife. Top Tip: Use a nail file to help achieve smooth clean edges. 

Step 2.

Grab a thicker piece of card and cut to the size of your notepad In this case the notepad is at the size of 12.5cm x 20cm. Add to the back of your pad and again ensure that everything is lined up and clipped securley 


STEP 3.

Paint a coat of PVA glue along the edge of the notepad, making sure to cover the entire surface. Allow to dry and apply 1-2 more coats. The PVA will help achieve the typical "tear off" pages of a notepad. 


Leave to dry and hey presto! you have your own notepad thats ready for all your creative ideas! I'm obsessed with mine and you'll probably be seeing them pop up on my Instagram feed. Which design is your favourite? I would love to know. Don't forget to hashtag #ambinteriors on Instagram and let me see how you've been using your notepads. 


Want more freebies like this one? Don't forget to subscribe to my monthly newsletter where I will be sending out freebies straight to your inbox! 


D.I.Y MARBLE PHONE CASE

It is no secret of mine that I am OBSESSED with anything marble! There's just something about its beautiful veined texture that I can't seem to get enough of.  After making my own 

marble notebook

 and "pimping" out my laptop, I decided my next victim would be my iPhone.

I've tried looking online for a marble case that would fit my needs, but to be honest with you they were either too expensive or the design didn't really tick all the right boxes for me. Seeing as I have images of marble backgrounds that I really love, I thought to myself why not use them and create my own marble iPhone case!

So here is a quick and simple step-by-step D.I.Y to "pimp" your phone for only £3!

Materials that are needed: 

Clear phone case

Printed marble texture of your choice

Ruler

Scissors or craft knife (both would work just as fine)

Pen

Your phone

Step 1: 

Take your paper and flip it so that the blank side is facing you and the textured side is facing the table. By drawing on the blank side you don't have to worry about messing up and ruining your marble design. You are then going to trace around your phone. Grab your clear phone case and line it up with your tracing. Here you are going to trace around the camera hole.

Step 2:

Grab your scissors and cut around the paper. To make sure the paper fits nicely in your case, place the paper in the case to check its size. Trim down and alter until you are happy with the fit.

And there you have it! You're very own marble phone case made with just 2 easy and simple steps

I have had this phone case on for a couple of months and I have been asked where I got it. When I would tell people that it is actually paper they couldn't believe it. Who said you need to spend £15+ for a case when you can make your own design! And the great thing about it is, it's easy to change it up whenever you want!

What other D.I.Y posts would you like to see? 

Stay gold

Amni xo